I love looking at the many different parts and pieces of Disney history, from documents, to merchandise to images of all types. One I want to look at today is working with, and saving, old slides. We’re not talking about the kind that you sit on and go for a ride. We’re talking about the old style way of showing a room full of people your pictures without getting finger prints all over them. (To be honest, most of those experiences were nap inducing, and filled people with dread by being forced to look at hundreds of boring slides. Thank goodness we are talking about Disney trips.)
While Disney sold PANA-VUE slides of the Parks in both Disneyland and Walt Disney World, many people created their own from their trips. We can find clean versions of the ones Disney sold pretty easily, but the personal slides needed to cleaned by us.
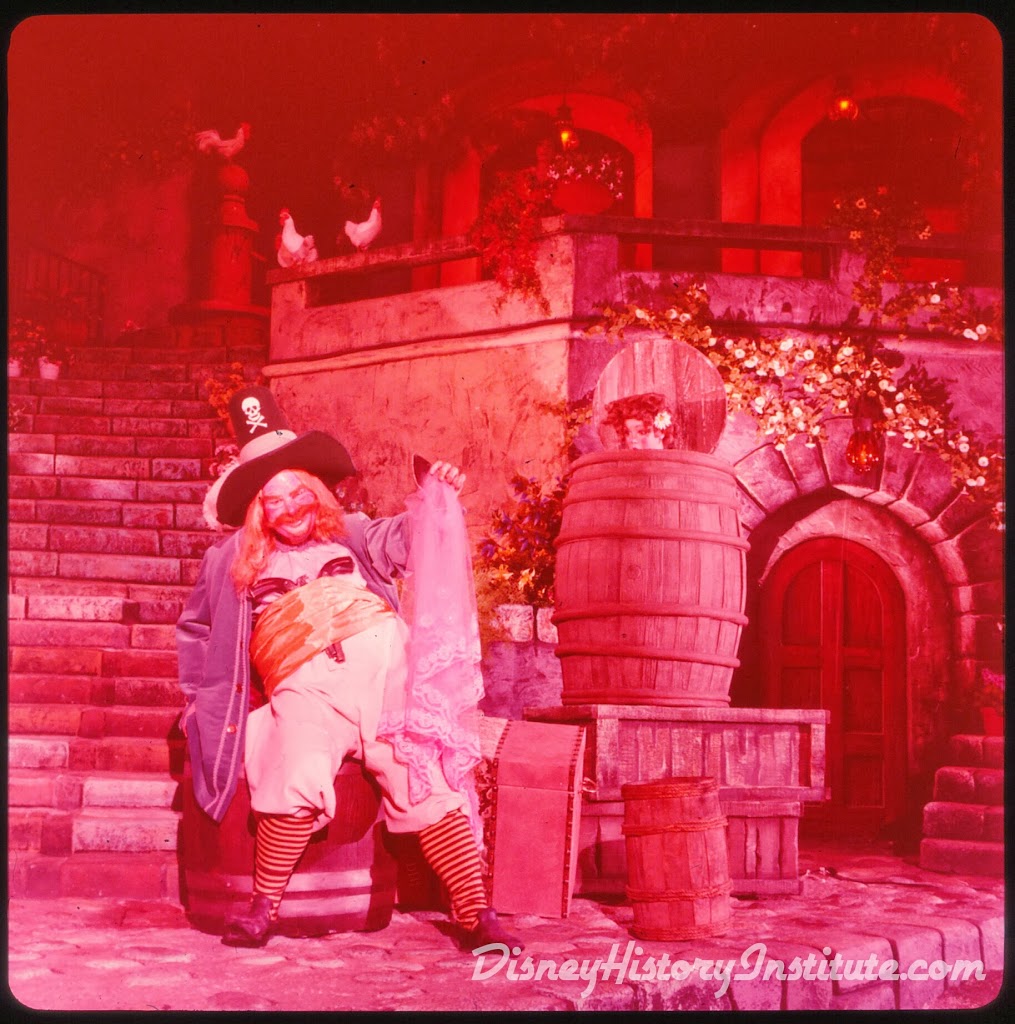
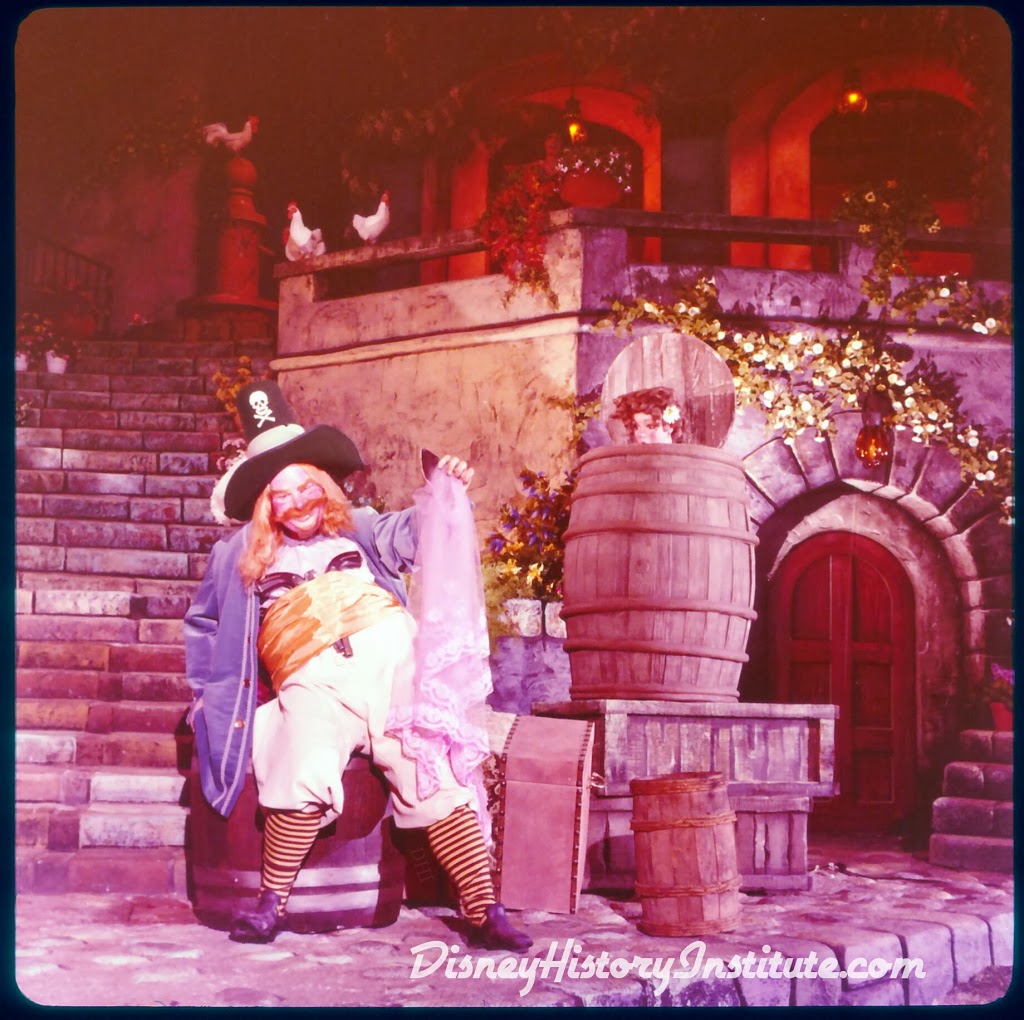
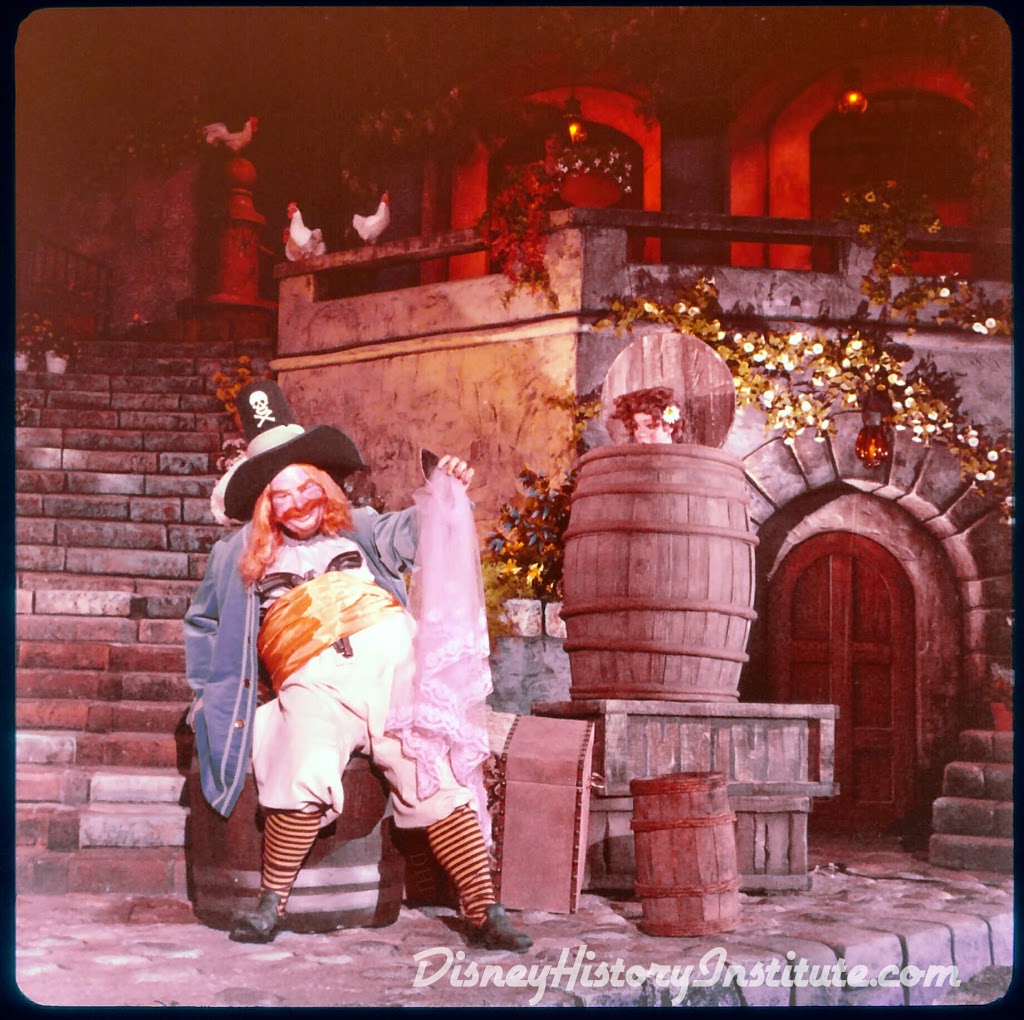
I won’t go through the whole process, as there are tutorials online that can do that job so much better then myself, but I will show you a before, a mid-work, and then the final for one of the PANA-VUE I worked on several years ago. I really like this image, and it’s the only one I had all three versions of, where the rest had just the original and final image.
With the first one, you can really see how degraded the image has become.
The midway point show that, yes you can get the red out.
And here is the final version.
While not perfect, (I’ve never claimed to be an expert at correcting photos), it looks a lot better then the original.
It can also be pointed out that there are plugins for Photoshop and other image based software that can do this for you, however, there may be a cost involved to use them… And I really wanted to play with the color sliders!


NIce job! So glad there are people preserving Disney history! Thank you!
I got into photo restoration in large part because of these slides. When I worked for Disney I bought every one I could find, then had them safely stored in slide carousels in the proper conditions. Years passed without looking at them, then one night I decided to show a few. I was horrified to see how they had turned so red. I started doing some research and fell in love with a Nikon Coolscan scanner, but it doesn’t do this size slide (great for 35mm, 126, etc.) I ended up doing mine on a flatbed scanner then fixing them in Photoshop. I highly recommend some filters like Digital ROC – it will save you a LOT of time.
Here’s an example of how it worked on this slide:
http://www.billcotter.com/misc/disneyland/vp713.jpg
I’m not 100% satisfied but it sure looked better to me than the original red one did!
Keep up the good work.
Bill
You got a lot more red out then I did. Good job!